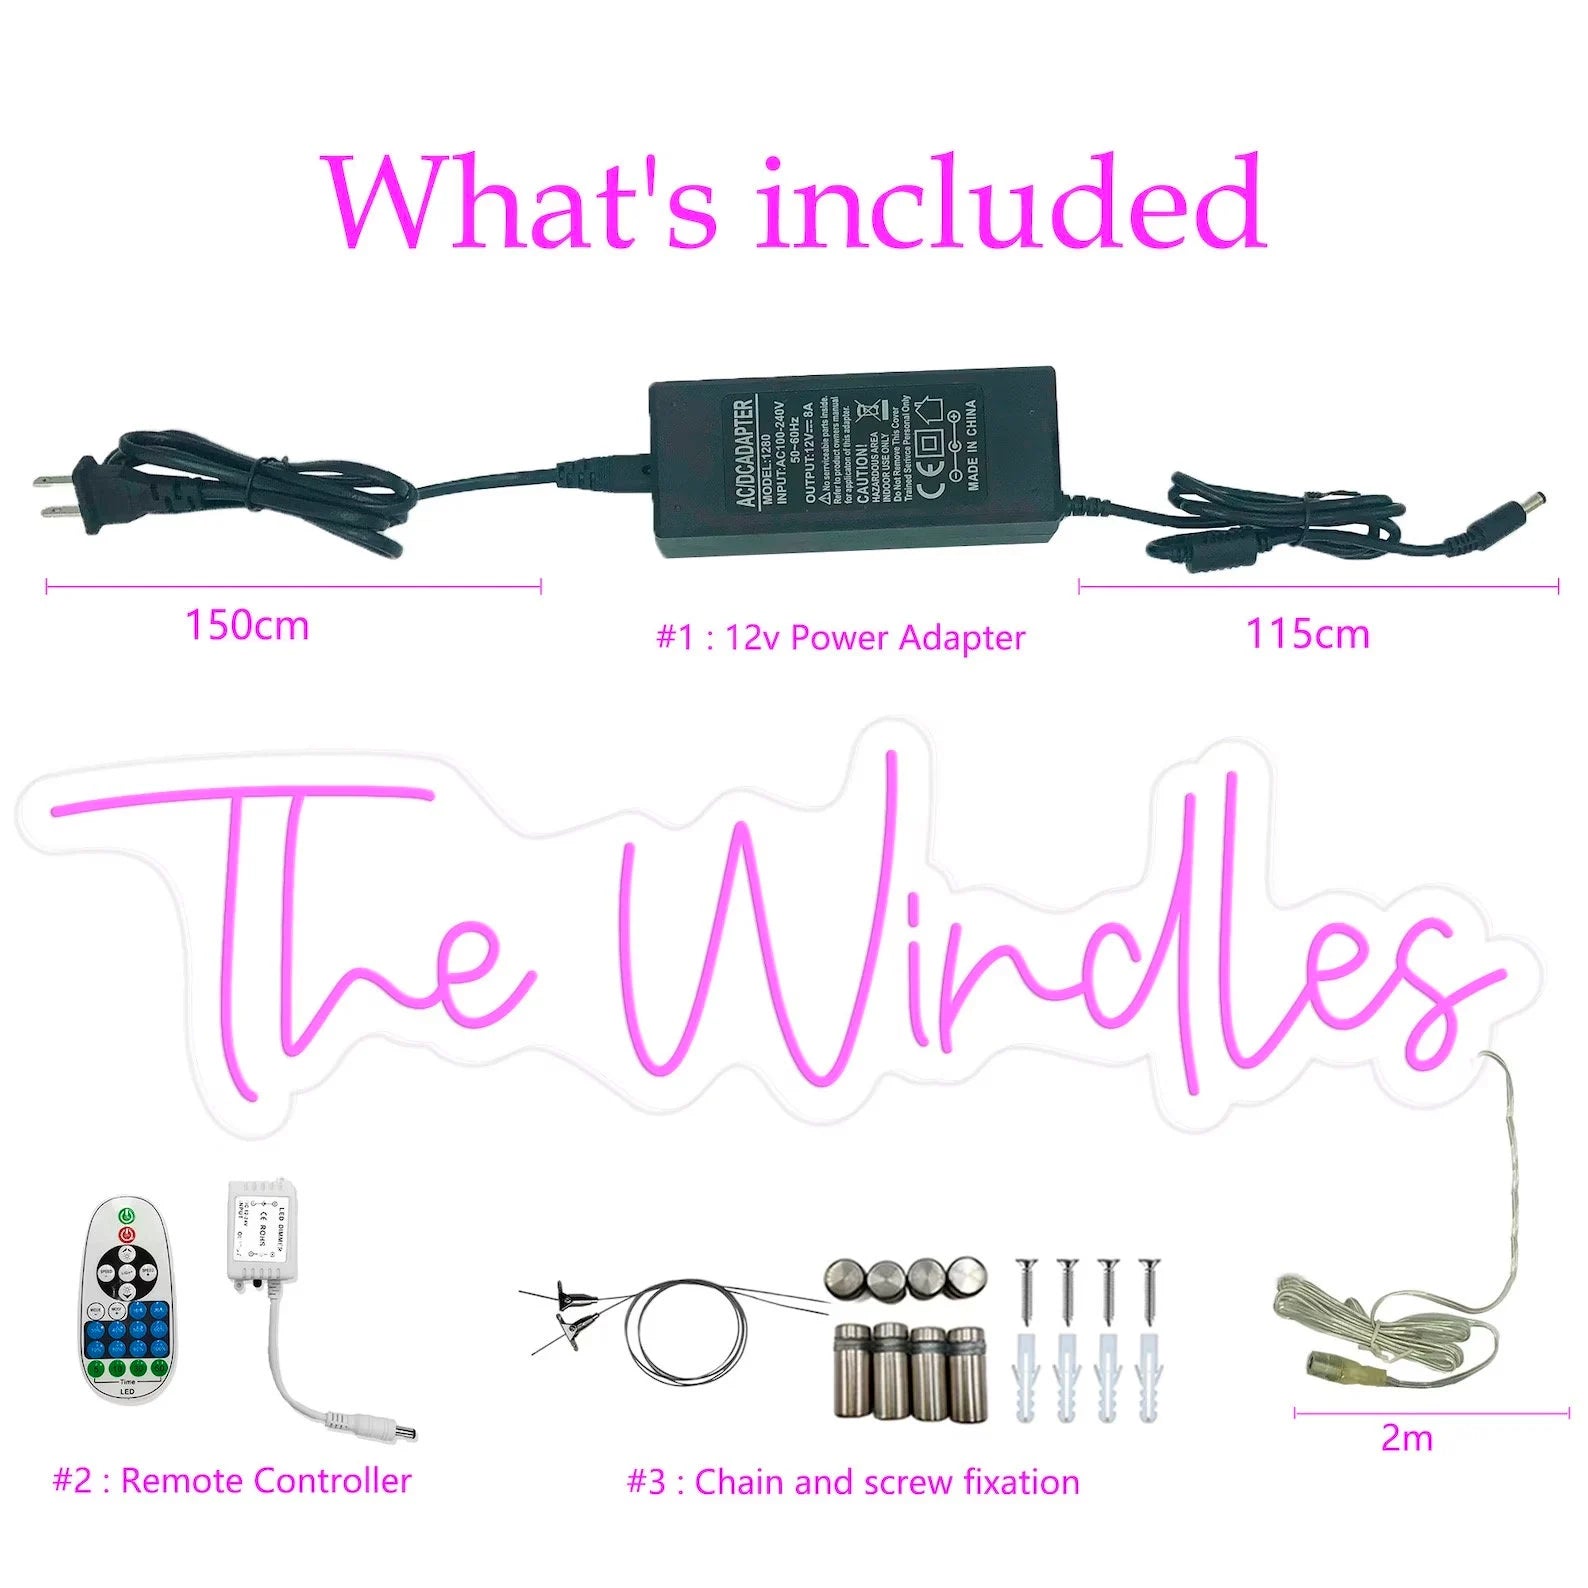
How to Hang A Neon Sign
How to Install Your LED Neon Sign Using Stand-Off Screws
Stand-off screws are a fantastic option for mounting your sign on surfaces like walls. This is our most popular installation method.
Step 1:
Hold your neon sign up against the wall or surface where you plan to install it. If the sign is large or heavy, get someone to help you for safety.
Step 2:
While one person holds the sign in place, use a marker to trace dots through the pre-drilled holes onto the wall. These dots will serve as guides for drilling. Double-check the placement to ensure it’s exactly where you want it.
Step 3:
Carefully set the sign aside in a safe place to prevent any damage to the acrylic backing. Using a drill and a bit smaller than your screws, drill pilot holes into the marked spots on the wall.
Step 4:
Take a mounting pin and unscrew it. Place the hollow base of the pin over one of the pilot holes. Insert the smaller silver screw through the hollow base and secure it into the wall with a screwdriver. Repeat this process for all the pilot holes to attach the hollow bases securely to the wall.
Step 5:
Align your sign with the installed bases, ensuring everything lines up properly. Use the wider screws to fasten the sign to the bases. Tighten each screw to keep the sign securely in place.
Final Step:
Plug your neon sign into the transformer (black or white box) and then into the wall outlet. Your sign should light up beautifully!


